
이 글은 Managed node에 이점과 Lifecycle에 대한 내용이 주로 되어 있습니다.
Life cycle node란?
Life cycle node는 일반 Node와 관리 Node의 Life cycle을 관리할 수 있다. 이러한 이점으로 인해 Nav2, Moveit2와 같은 대중적인 ROS library는 Managed node로 구성되어 있다. Life cycle의 관리는 통해 우리는 아래와 같은 상황에서 컴퓨터 자원을 절약이 가능하다.
- Node를 재시작해야 할 경우
- Node가 항상 켜져있지 않아도 될 경우
종종 예상치 못한 버그로 Node를 재시작해야 할 경우가 있다. 이때 일반 Node라면 실행 중인 Node의 Process를 중단하고 새로운 Process를 생성한다. 이는 불필요한 자원 낭비로 이어지게 된다. 두 번째로 Node가 항상 켜져있어야 하지 않을 경우에도 Life cycle를 관리하여 Node를 Deactivate 하여 불필요한 자원 낭비를 방지할 수 있게 된다.
Life cycle node

Life cycle이 생소한 분들을 위해 간단히 설명하자면 Node가 시작하고 나서 종료될 때까지의 상태라고 설명할 수 있다. Life cycle node는 4개의 primary state와 6가지의 transition state가 존재한다. 우리가 주요하게 봐야 할 것은 primary state이다.
- Unconfigured: 인스턴스 된 직후 이거나 Node를 조정될 수 있는 상태
- Inactive: Node의 Publisher/Subscriber 및 Service 등이 구성되어 있지만 아무런 처리하지 않는 상태
- Active: 모든 처리를 시작한 상태
- Finaized: Node가 종료되기 직전의 상태
처음 Life cycle node가 만들어지게 되면 Unconfigured 상태가 된다. 그 후 외부 node나 command line을 통하여 state가 변경된다. 이때 Finaized 상태가 된다면 Node를 다시 활성화시킬 수 없음에 유의해야 한다. 아래 예시를 통해 어떻게 관리하는지 알아보자. Life cycle에 대한 자세한 내용은 아래 공식문서에서 확인 가능하다.
Managed nodes
Managed nodes This article describes the concept of a node with a managed life cycle. It aims to document some of the options for supporting manage d-life cycle nodes in ROS 2. It has been written with consideration for the existing design of the ROS 2 C++
design.ros2.org
예시) Life cycle node의 상태에 따른 Publish 확인
1. Life cycle node 만들기
간단하게 아무것도 설정되어 있지 않은 Life cycle node를 생성해 보자.
#include <chrono>
#include <iostream>
#include <memory>
#include <string>
#include <thread>
#include <utility>

#include "lifecycle_msgs/msg/transition.hpp"

#include "rclcpp/publisher.hpp"
#include "rclcpp/rclcpp.hpp"

#include "rclcpp_lifecycle/lifecycle_node.hpp"
#include "rclcpp_lifecycle/lifecycle_publisher.hpp"

#include "rcutils/logging_macros.h"

#include "std_msgs/msg/string.hpp"

using namespace std::chrono_literals;

class LifecycleTalker : public rclcpp_lifecycle::LifecycleNode {
public:
  explicit LifecycleTalker(const std::string &node_name,
                           bool intra_process_comms = false)
      : rclcpp_lifecycle::LifecycleNode(
            node_name, rclcpp::NodeOptions().use_intra_process_comms(
                           intra_process_comms)) {}

  void publish() {}

  rclcpp_lifecycle::node_interfaces::LifecycleNodeInterface::CallbackReturn
  on_configure(const rclcpp_lifecycle::State &) {
    return rclcpp_lifecycle::node_interfaces::LifecycleNodeInterface::
        CallbackReturn::SUCCESS;
  }

  rclcpp_lifecycle::node_interfaces::LifecycleNodeInterface::CallbackReturn
  on_activate(const rclcpp_lifecycle::State &state) {
    return rclcpp_lifecycle::node_interfaces::LifecycleNodeInterface::
        CallbackReturn::SUCCESS;
  }

  rclcpp_lifecycle::node_interfaces::LifecycleNodeInterface::CallbackReturn
  on_deactivate(const rclcpp_lifecycle::State &state) {
    return rclcpp_lifecycle::node_interfaces::LifecycleNodeInterface::
        CallbackReturn::SUCCESS;
  }

  rclcpp_lifecycle::node_interfaces::LifecycleNodeInterface::CallbackReturn
  on_cleanup(const rclcpp_lifecycle::State &) {
    return rclcpp_lifecycle::node_interfaces::LifecycleNodeInterface::
        CallbackReturn::SUCCESS;
  }

  rclcpp_lifecycle::node_interfaces::LifecycleNodeInterface::CallbackReturn
  on_shutdown(const rclcpp_lifecycle::State &state) {
    return rclcpp_lifecycle::node_interfaces::LifecycleNodeInterface::
        CallbackReturn::SUCCESS;
  }
};

int main(int argc, char *argv[]) {
  rclcpp::init(argc, argv);

  rclcpp::executors::SingleThreadedExecutor exe;

  std::shared_ptr<LifecycleTalker> lc_node =
      std::make_shared<LifecycleTalker>("lc_talker");

  exe.add_node(lc_node->get_node_base_interface());

  exe.spin();

  rclcpp::shutdown();

  return 0;
}
일반적으로 Node를 생성할 때랑 크게 다르지 않다. 자신이 만들 Node에 rclcpp_lifecycle::LifecycleNode를 상속시켜야 한다. 위 코드에서 우리가 주의 깊게 봐야 할 것은 on_configure, on_activate, on_deactivate, on_cleanup, on_shutdown 메서드이다. 각각 Node의 상태가 변경될 때 실행되는 함수들이다. 각각 다음과 같은 상활일때 호출된다.
- on_configure: Node가 Inactive 상태로 변경될때 호출된다.
- on_activate: Node가 Inactive에서 Active 상태로 변경될때 호출된다.
- on_deactivate: Node가 Active 상태에서 Inactive 상태로 변경될때 호출된다.
- on_cleanup: Node가 Inactive 상태에서 Unconfigured 상태로 변경될때 호출된다.
- on_shutdown: Node가 Finaized 상태로 변경될때 호출된다.
우리는 각 primary state에서 어떤 작업을 해야 하는지 알고 있다. 따라서 위 메서드를 통하여 state에 맞게 Node를 구성해야 한다. 위 Node에 topic을 publish 할 수 있는 publisher와 timer를 추가해 보자.
private:
  std::shared_ptr<rclcpp_lifecycle::LifecyclePublisher<std_msgs::msg::String>> pub_;
  std::shared_ptr<rclcpp::TimerBase> timer_;
Managed node에서 publisher를 생성할 때에는 rclcpp_lifecycle::LifecyclePublisher로 생성해야 한다. 이 publisher는 기존과 달리 deactivate 및 activate가 가능하다.
on_configure
 rclcpp_lifecycle::node_interfaces::LifecycleNodeInterface::CallbackReturn
  on_configure(const rclcpp_lifecycle::State &)
  {
    pub_ = this->create_publisher<std_msgs::msg::String>("lifecycle_chatter", 10);
    timer_ = this->create_wall_timer(
      1s, std::bind(&LifecycleTalker::publish, this));

    RCLCPP_INFO(get_logger(), "on_configure() is called.");

    return rclcpp_lifecycle::node_interfaces::LifecycleNodeInterface::CallbackReturn::SUCCESS;
  }
on_configure에서는 Inactive로 state가 변경될 때 실행되므로 publisher와 timer의 초기값을 설정해준다. 이때 SUCCESS를 반환하면 Inactive로 변경되고 실패하면 Unconfigured 상태가 유지된다.
on_activate
  rclcpp_lifecycle::node_interfaces::LifecycleNodeInterface::CallbackReturn
  on_activate(const rclcpp_lifecycle::State & state)
  {
    LifecycleNode::on_activate(state);

    RCUTILS_LOG_INFO_NAMED(get_name(), "on_activate() is called.");

    std::this_thread::sleep_for(2s);

    return rclcpp_lifecycle::node_interfaces::LifecycleNodeInterface::CallbackReturn::SUCCESS;
  }
on_activate에서는 Active로 state가 변경될때 실행되므로 publisher을 activate 상태로 변경해야 한다. 2초 delay를 주어 나중에 결과확인을 돕는다. 당연히 반드시 필요한 부분은 아니다. FAILURE를 반환하면 Inactive state가 유지된다.
on_deactivate
  rclcpp_lifecycle::node_interfaces::LifecycleNodeInterface::CallbackReturn
  on_deactivate(const rclcpp_lifecycle::State & state)
  {
    LifecycleNode::on_deactivate(state);

    RCUTILS_LOG_INFO_NAMED(get_name(), "on_deactivate() is called.");

    return rclcpp_lifecycle::node_interfaces::LifecycleNodeInterface::CallbackReturn::SUCCESS;
  }
on_activate에서는 Inactive로 state가 변경될때 실행되므로 publisher을 deactivate 상태로 변경해야 한다. FAILURE를 반환하면 Active state가 유지된다.
on_cleanup
rclcpp_lifecycle::node_interfaces::LifecycleNodeInterface::CallbackReturn
  on_cleanup(const rclcpp_lifecycle::State &)
  {
    timer_.reset();
    pub_.reset();

    RCUTILS_LOG_INFO_NAMED(get_name(), "on cleanup is called.");

    return rclcpp_lifecycle::node_interfaces::LifecycleNodeInterface::CallbackReturn::SUCCESS;
  }
on_cleanup은 Unconfigured 상태로 변경될 때 실행되므로 설정된 publisher와 timer의 shared_ptr을 reset시킨다. FAILURE를 반환하면 Inactive 상태가 유지된다.
on_shutdown
rclcpp_lifecycle::node_interfaces::LifecycleNodeInterface::CallbackReturn
  on_shutdown(const rclcpp_lifecycle::State & state)
  {
    timer_.reset();
    pub_.reset();

    RCUTILS_LOG_INFO_NAMED(
      get_name(),
      "on shutdown is called from state %s.",
      state.label().c_str());

    return rclcpp_lifecycle::node_interfaces::LifecycleNodeInterface::CallbackReturn::SUCCESS;
  }
on_shutdown은 Finaized 상태로 변경될때 실행되므로 사용하고 있던 자원을 모두 초기화시켜줄 필요가 있다. FAILURE을 반환하면 state가 유지된다.
위 전체 코드에 대한 전체는 아래 Github 링크에서 확인 가능하다.
https://github.com/ros2/demos/blob/rolling/lifecycle/src/lifecycle_talker.cpp
2. Command line을 통한 Node state 변경 및 Topic 확인
state는 service를 호출하거나 lifecycle set을 통하여 변경할 수 있다.
$ ros2 service call <service_name> lifecycle_msgs/ChangeState "{transition: {id: <state_id>}}"
$ ros2 lifecycle set <node_name> <name_of_the_new_state>
이제 Command line을 통하여 Node의 state를 변경하고 출력되는 결과와 Topic을 영상을 통해 확인해 보자.
Nav2에서 Life cycle node의 활용법
Nav2에서는 nav2_util::LifecycleNode를 사용하여 nav2_lifecycle_manager를 통해 손쉽게 관리하고 있다. (Node가 자동으로 시작되게 하거나 기타 등등..) 이때 모든 nav2_util::LifecycleNode는 activate 하는 과정에서 createBond을 실행한다.
예) nav2_planner_server
nav2_util::CallbackReturn
PlannerServer::on_activate(const rclcpp_lifecycle::State & /*state*/)
{
  RCLCPP_INFO(get_logger(), "Activating");

  plan_publisher_->on_activate();
  action_server_pose_->activate();
  action_server_poses_->activate();
  const auto costmap_ros_state = costmap_ros_->activate();
  if (costmap_ros_state.id() != lifecycle_msgs::msg::State::PRIMARY_STATE_ACTIVE) {
    return nav2_util::CallbackReturn::FAILURE;
  }

  PlannerMap::iterator it;
  for (it = planners_.begin(); it != planners_.end(); ++it) {
    it->second->activate();
  }

  auto node = shared_from_this();

  is_path_valid_service_ = node->create_service<nav2_msgs::srv::IsPathValid>(
    "is_path_valid",
    std::bind(
      &PlannerServer::isPathValid, this,
      std::placeholders::_1, std::placeholders::_2));

  // Add callback for dynamic parameters
  dyn_params_handler_ = node->add_on_set_parameters_callback(
    std::bind(&PlannerServer::dynamicParametersCallback, this, _1));

  // create bond connection
  createBond();

  return nav2_util::CallbackReturn::SUCCESS;
}
Nav2는 bond communation을 통하여 Node가 정상적으로 작동하고 있는지 확인하고 응답이 없거나 충돌이 난 경우 다시 실행하게 된다. 이러한 역할을 하는 것이 Nav2Lifecycle Manager이다.
Lifecycle Manager — Nav2 1.0.0 documentation
Lifecycle Manager Source code on Github. The Lifecycle Manager module implements the method for handling the lifecycle transition states for the stack in a deterministic way. It will take in a set of ordered nodes to transition one-by-one into the configur
navigation.ros.org
간단하게 Nav2의 Node의 상태가 어떻게 변하는 지 확인해 보자.
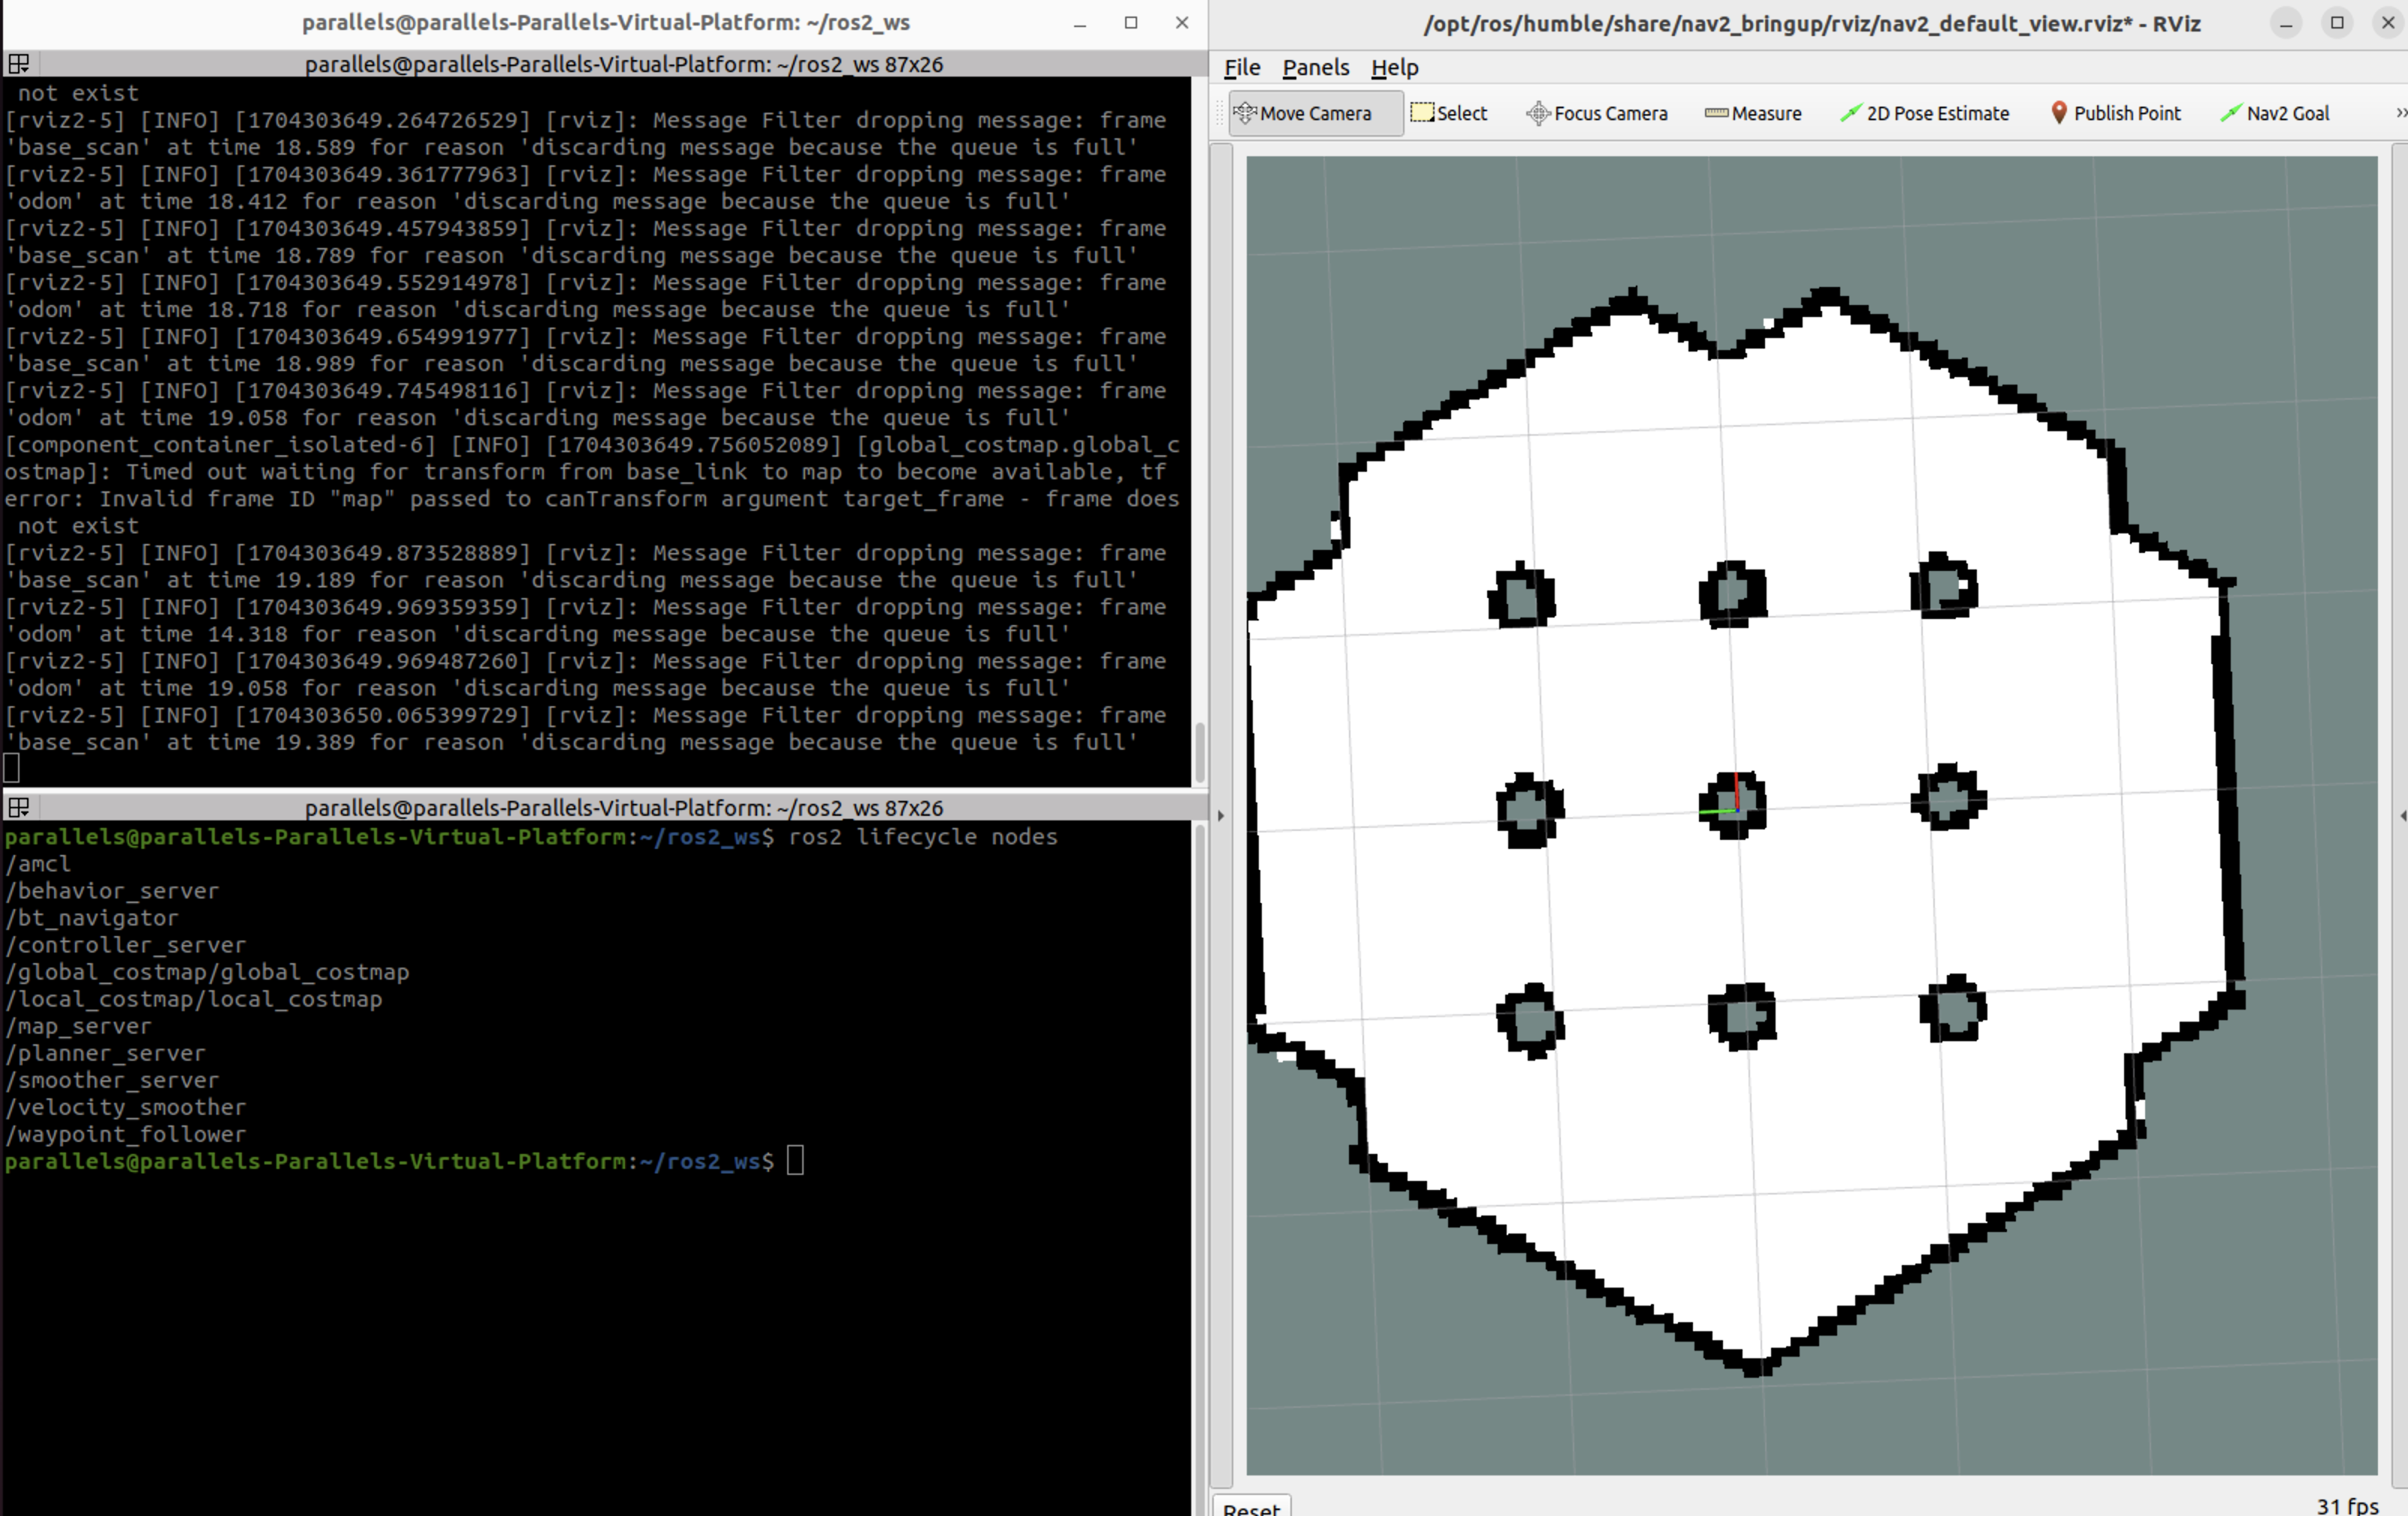
Nav2를 실행했을 때는 lifecycle nodes가 위 사진과 같이 등록되고 맵이 등록되어 있을 때 Inactive 상태이다. 그리고 Initial pose가 지정된다면 모든 Node의 state가 Active로 변경된다.
Lifecycle에 대한 나의 생각
간단하게 만들 것이 아니라면 모든 Node는 Life cycle node로 만드는 것이 더 이점이 많지 않을까? 생각이 든다. 뿐 아니라 Behavior Tree와도 같이 사용할 때 더욱 효율적이게 사용될 수 있을 거 같다. Nav2에서도 bond을 통하여 Node의 상태를 관리하는 manager를 생성하고 관리하는 점이 인상 깊었다. 하지만 아직 미완성적인 부분이 있다. 대표적으로 LifecycleSubscriber이 필요하다 생각한다. 공식 ROS2 design을 보면 Inactive 상태에서는 pub/sub가 초기화는 돼있고 아무런 동작을 하지 않는 상태여야 하지만 실상은 Subscriber를 deactivate 할 수 없다. 따라서 예외로 처리해 줘야 하는데 다음 Version에서는 추가가 됐으면 좋겠다. 해당 내용은 아래 PR에서 자세히 설명하고 있다.
Add lifecycle subscriber to lifecycle nodes by carmiac · Pull Request #2254 · ros2/rclcpp
This adds a LifecycleSubscriber class to lifecycle nodes. In general, it is a mirror of LifecyclePublisher scheme, both for determining whether to process messages and in the factory methods. Ther...
github.com
'ROS' 카테고리의 다른 글
| [Nav2] AMCL(Adaptive Monte Carlo Localization) package 분석 (0) | 2024.01.09 |
|---|---|
| [ROS2] Callback group 개념 및 Deadlock 문제 해결 (1) | 2024.01.04 |
| [ROS2] DDS와 RMW 개념 및 QoS 호환성 확인 (0) | 2023.12.05 |
| ROS1 Noetic Arduino와 Serial 통신하기 (0) | 2022.07.15 |


